
 | I love to sew, and one of my favorite things to do with a sewing machine is to applique. I haven't been taught professionally or anything. I just came up with my own method, and I think it's pretty simple. It just takes a few steps to create artwork out of fabric! |
Different fabrics
Iron-on adhesive
Sewing machine with zigzag option
Thread
| Step 1 Decide on the design you want to create with fabric. Once you pick a design, cut out each piece of the drawing. Each piece will be a separate piece of fabric. (To avoid spaces appearing between the pieces in the finished product, plan for some pieces to overlap.) |  |
| Step 2 Iron on the adhesive to the backs of the fabrics that will make up the appliqued design. (I use Heat N' Bond Lite.) Then, trace around your cut-out pieces on the adhesive paper. Be sure to trace the pieces upside-down, since your fabric is currently upside-down. |  |
| Step 3 Once you have traced around each piece, cut them out. Then, pull away the paper backing from each one. |  |
| Step 4 Now arrange the pieces to create your design. Once you are pleased with the arrangement, iron them down. Adjust the iron depending on the type of fabric you use. With about 10 seconds of heat, your pieces will be attached to the background. Pieces cannot be rearranged, so be careful! |  |
| Step 5 Sew around each piece using a zigzag stitch to secure the pieces in place. Knot the thread on the back, and you're done! |  |
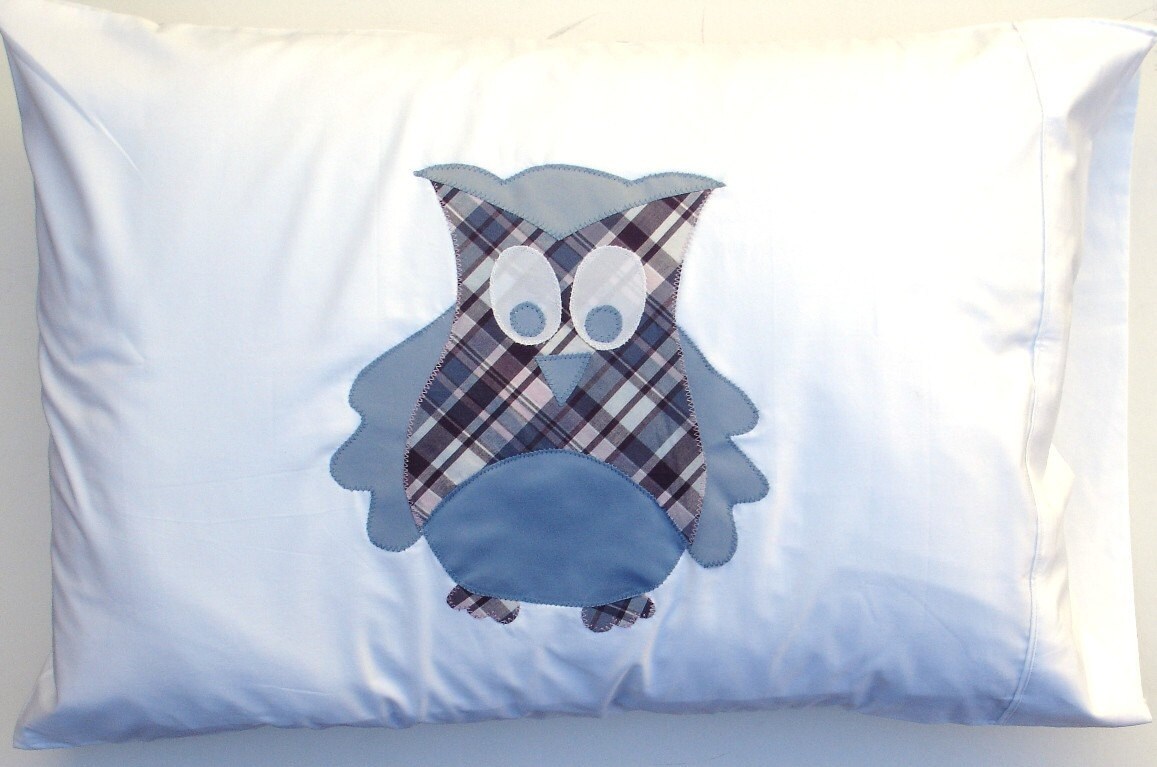
Here's my finished owl pillow!
Tip: If you don't trust your drawing abilities, you can always find a picture to use as a guide. Drawings from coloring books make great applique patterns too!
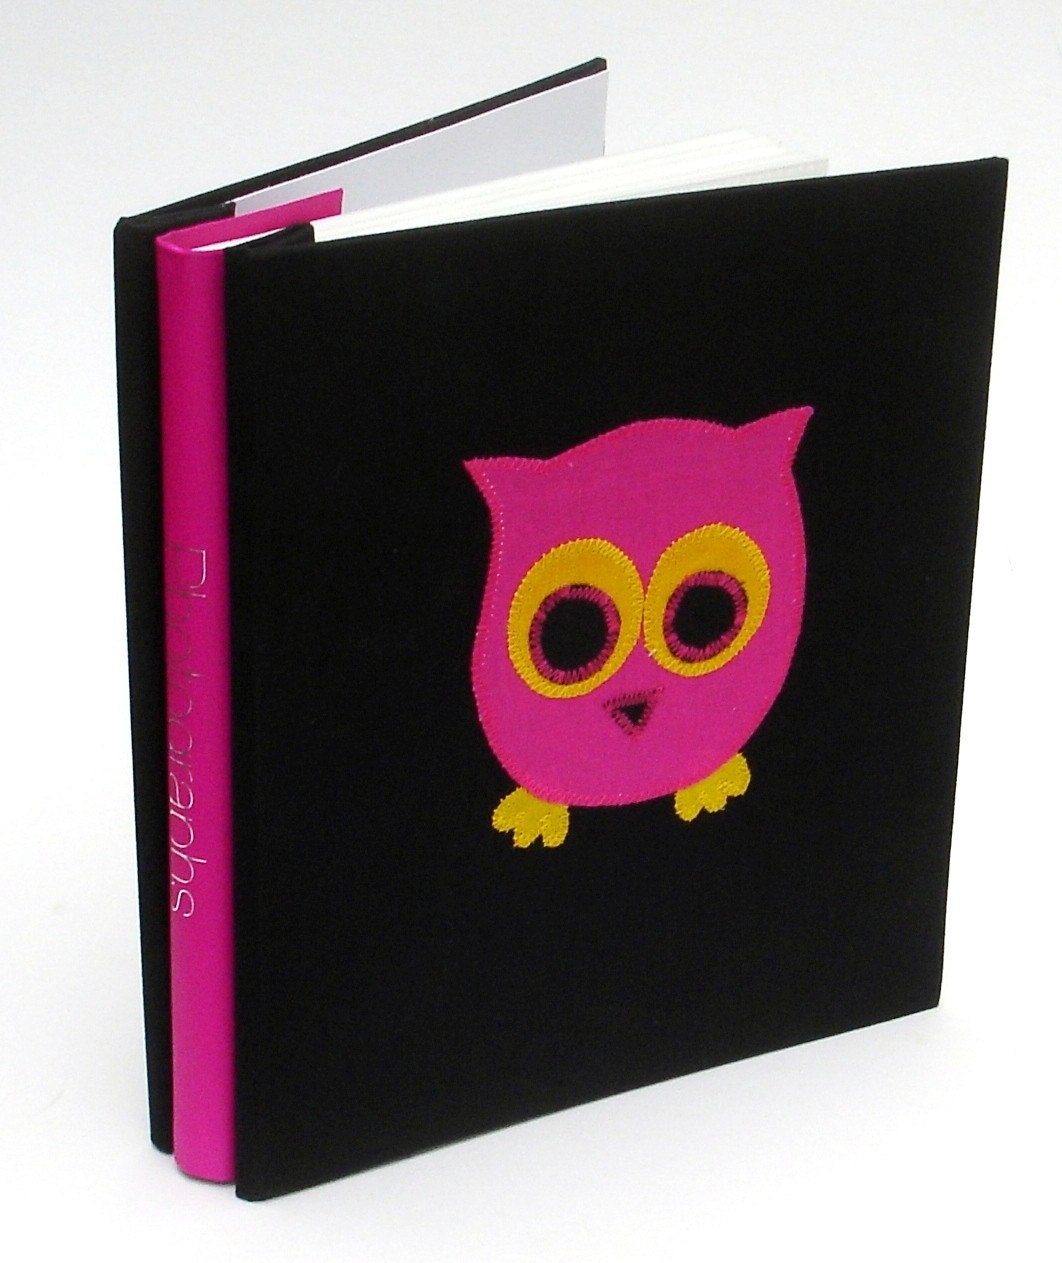
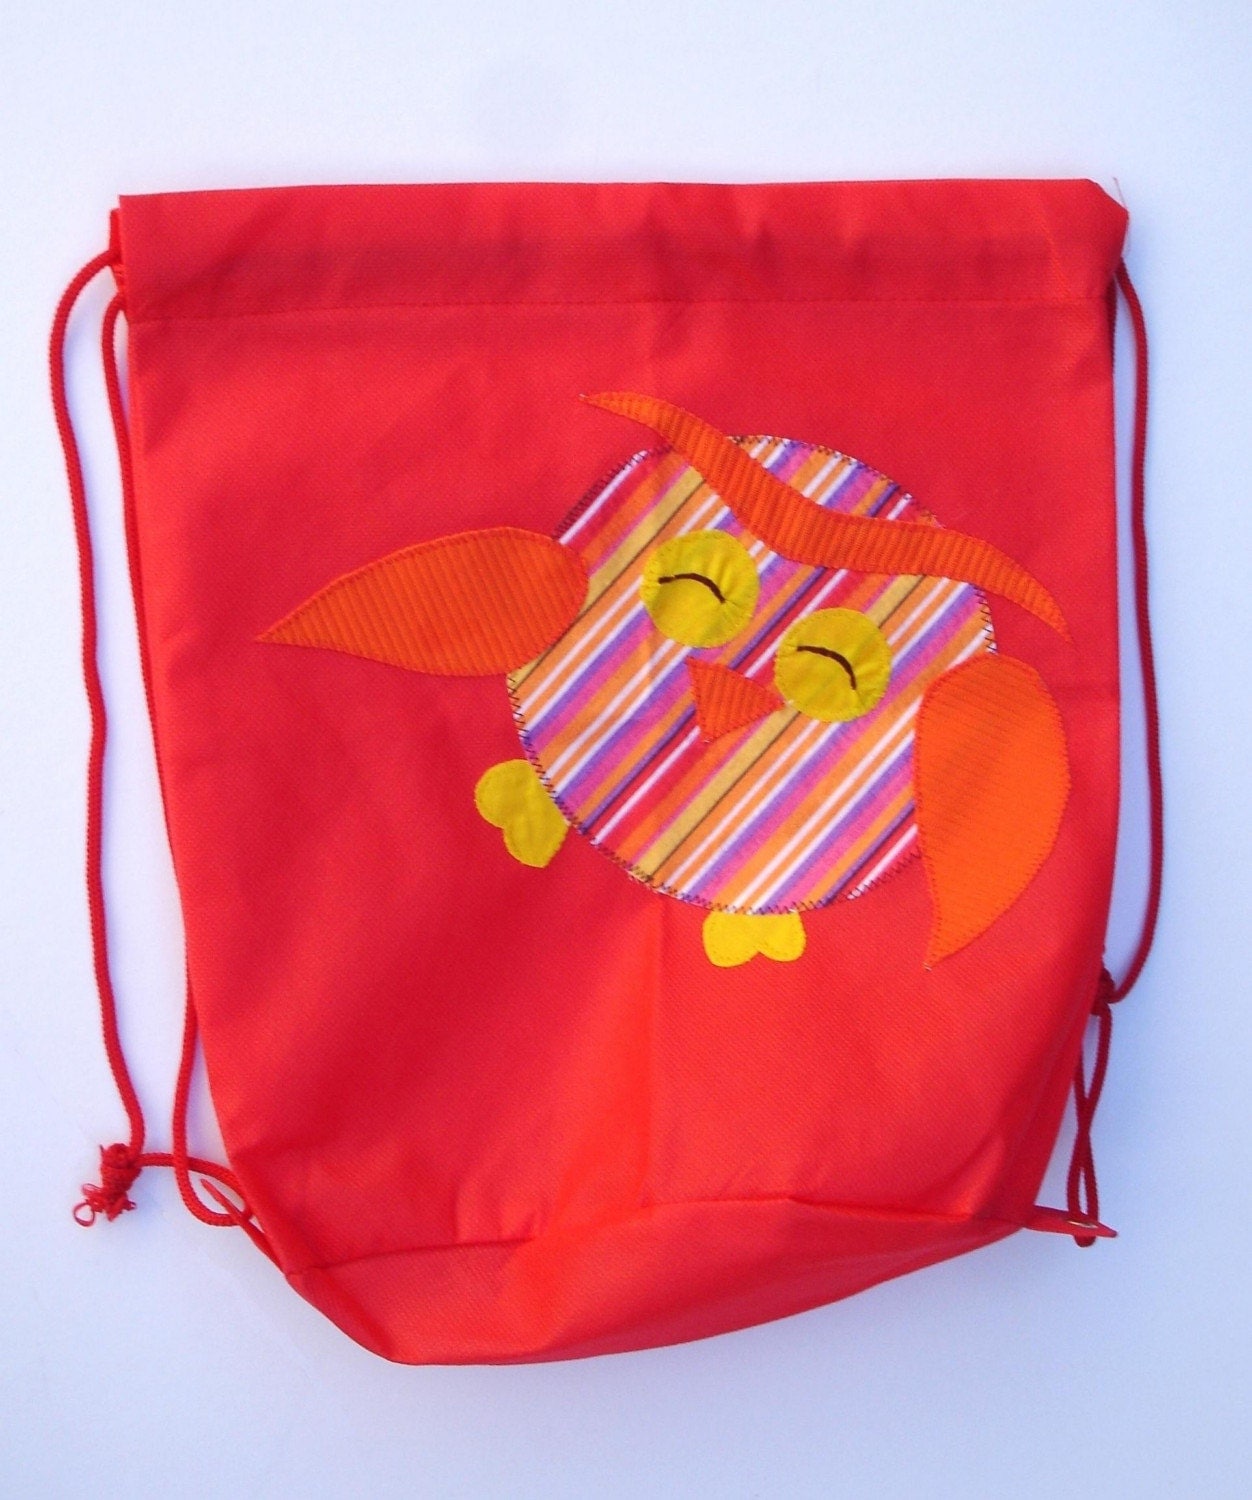
Applique is a great way to personalize all kinds of items. Here are a few items from my etsy shop that utilize this technique!
 |  |  |
thanx for sharing this! i want to try it now
ReplyDeleteGORGEOUS! Clever you!
ReplyDeleteWhat adorable owls. Thanks for sharing your secrets with us.
ReplyDelete