Making banners and buttons can be difficult, especially if you don't have a fancy program to use.
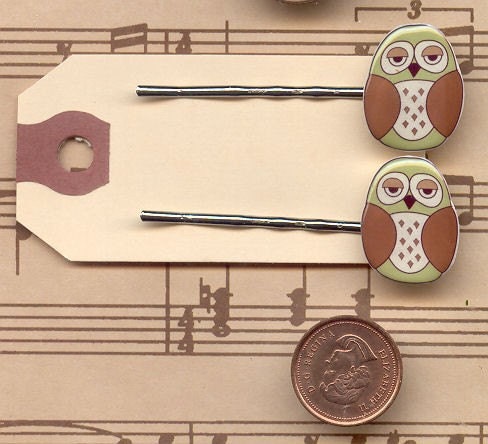
If you have an etsy shop, a pretty banner is a great way to welcome customers. When I first opened Owlsome Gifts, I had little banner-making experience. This was my first one:

Simple and not so eye-catching. That's about what you can expect working with a Paint program.
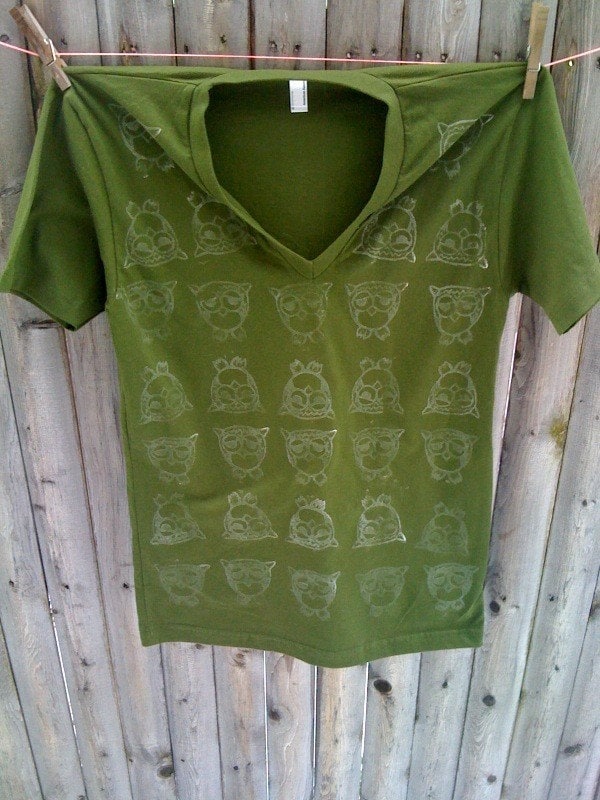
I think my banner now is a pretty big improvement...

I'm not saying I have the best banner in the world now, but my banner skills have greatly improved with a simple online program:
PICNIK!!
It's free and you don't have to download anything to use. So, here's what to do to create a masterpiece! (I'm using my twitter background as an example.)
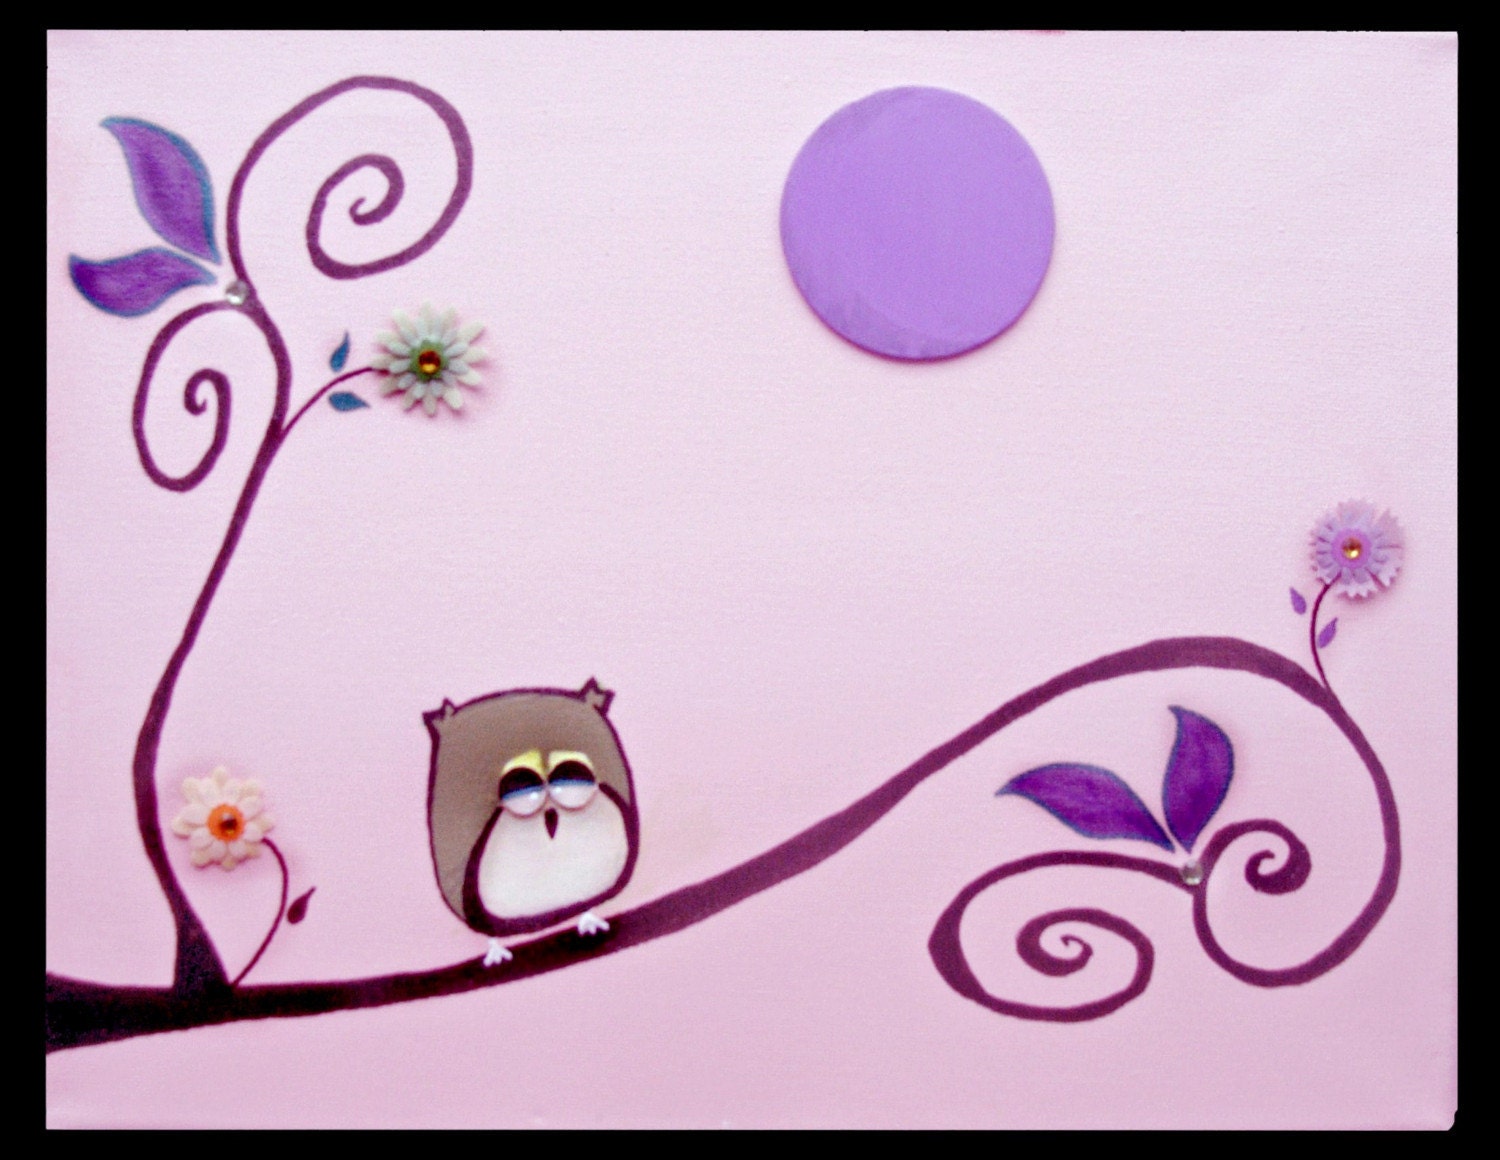
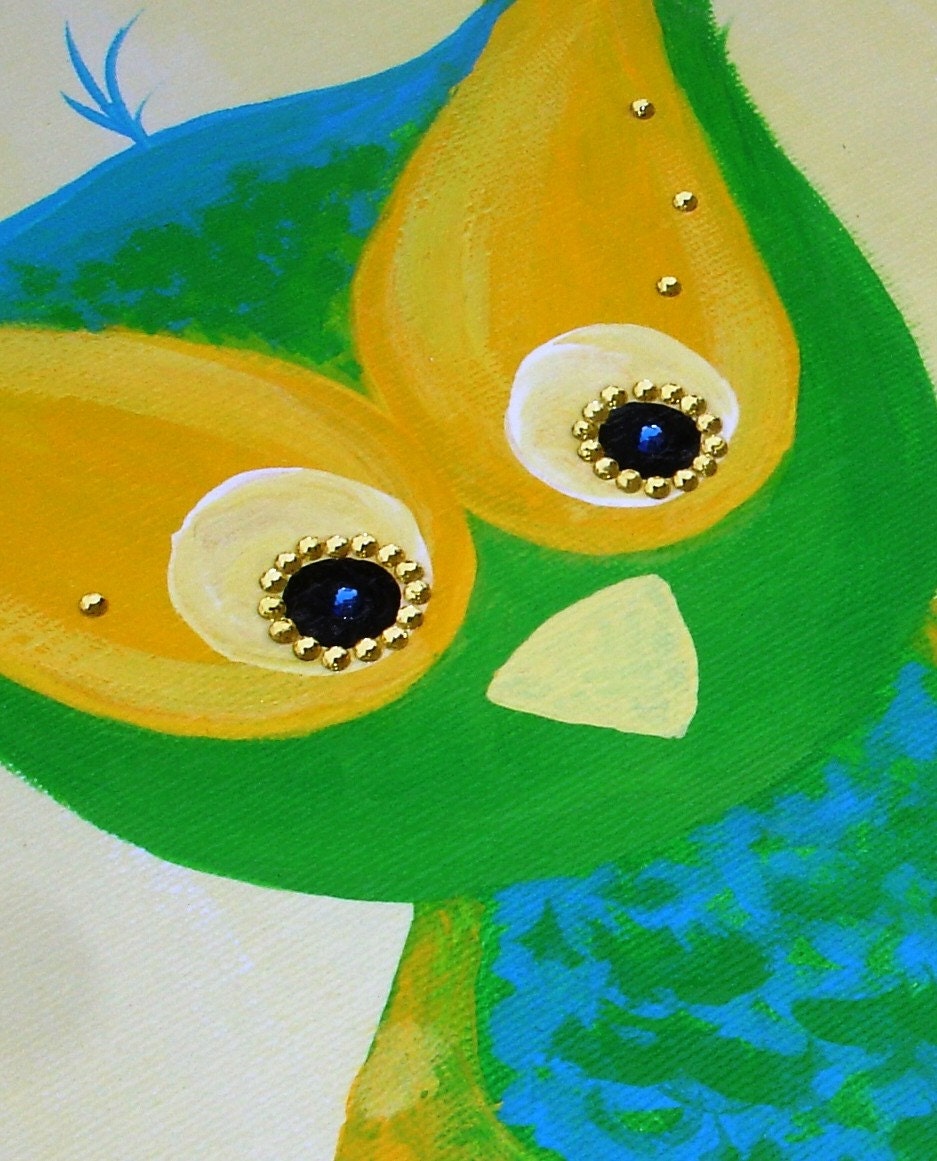
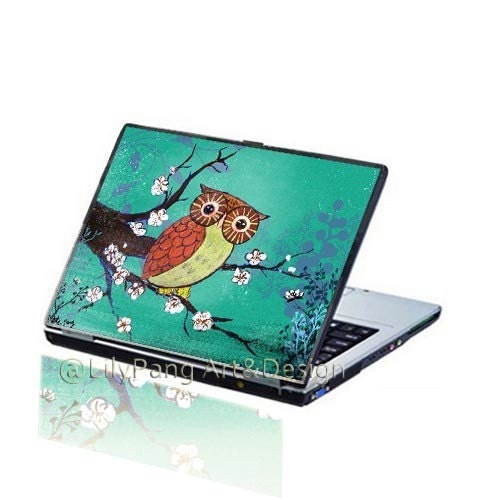
Step 1: Go to the site, and upload a photo. I'll be using this owl painting from my shop.
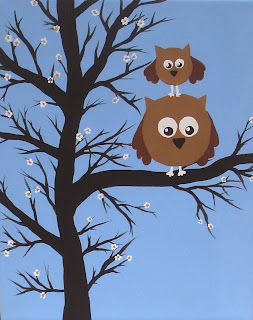
Step 2: Adjust the colors, and crop it to the correct proportions using the controls at the top.
Step 3: Click the "Create" tab. Here you can add a frame, play with different effects, and add stickers.
Matte Effect...
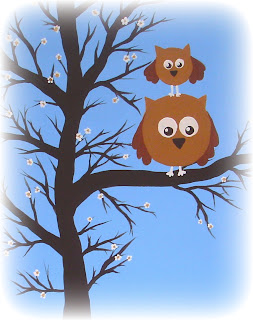
Stickers...
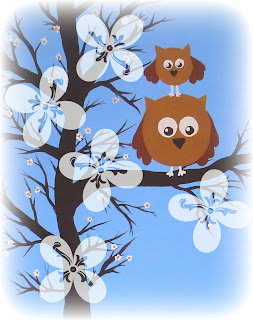
Gooify...
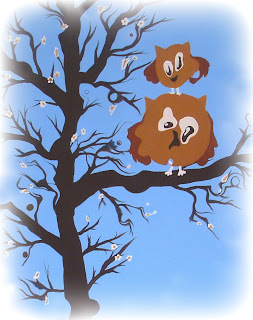
Step 4: Add text! Check out all the fonts... so much fun!
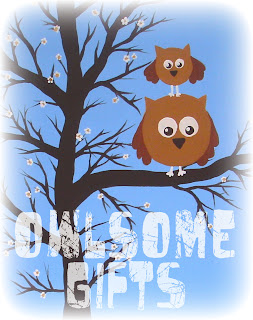
Step 5: Save the image. Be sure to select the correct format (probably jpg). And, adjust the size for your purpose. Picnik will preserve the quality of your image even when you reduce the size. Paint and other programs sometimes give you a fuzzy effect when you reduce the size.
It's a great program, and I use it for all my banners, buttons, backgrounds,... everything! Let me know if you use it (or if you're gonna start using it)!

